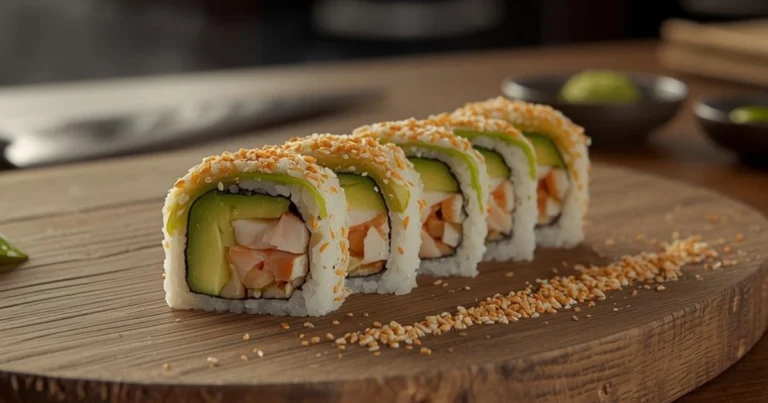
How to make an easy tuna sushi roll at home
When you think of comfort food, your mind might go straight to warm soups or homemade pasta. But there’s something incredibly unique and calming about creating your own sushi at home especially a simple, fresh tuna sushi roll. It’s one of those dishes that turns an ordinary day into something a little more enjoyable. Maybe it’s the precision of slicing the ingredients, the quiet moment of spreading the rice evenly on the nori, or the pride that comes with rolling the perfect cylinder. Whatever your reason, making sushi at home gives you a kind of satisfaction that’s hard to describe until you’ve tried it yourself.
If you’ve ever looked at a sushi roll and thought, “I could never make that,” you’re about to surprise yourself. With just a few tools, some fresh ingredients, and a bit of guidance, you can craft your own tuna sushi roll that rivals what you’d find in restaurants. And the best part? You control everything from the amount of tuna to the crunch of the cucumber and the creaminess of the avocado. This guide walks you through every step so you can create a roll that’s not only delicious, but also beautifully presented.
Why Make a Tuna Sushi Roll at Home? (Benefits of Homemade Sushi)
Preparing your tuna sushi roll at home gives you more than just a good meal it gives you control, creativity, and confidence in what you’re eating. You choose your tuna, your vegetables, and your seasonings. You decide how much rice to use and how tightly you want your roll to come together.
Key Benefits You’ll Love
Here are some reasons you might fall in love with homemade sushi:
1. Fresher Ingredients
When you make your own tuna sushi roll, you’re the one selecting your tuna, vegetables, and rice. You know exactly where everything comes from and how fresh it is.
2. Better for Your Budget
Let’s be honest restaurant sushi can get expensive fast. Preparing sushi at home lets you enjoy your favorites at a fraction of the cost.
3. Beginner-Friendly
A tuna sushi roll is one of the easiest rolls to start with. You don’t need advanced technique. You don’t need years of practice. You only need patience and a willingness to try.
4. A Fun Activity
Whether you’re cooking alone, with a partner, or with friends, sushi-making is fun. It’s hands-on, creative, and a great alternative to traditional cooking.
5. Health Benefits
Tuna is rich in protein, omega-3 fatty acids, and essential vitamins. When you add fresh cucumber, avocado, and seasoned sushi rice, you create a balanced, nutritious meal.
What You Need to Make an Easy Tuna Sushi Roll (Tools + Ingredients)
Even if your kitchen is simple, chances are you already have most of what you need. A few specific tools will make the process smoother, but none of them are complicated.
Essential Tools for Rolling Sushi at Home
To build a clean, attractive sushi roll, you only need:
- A bamboo sushi mat (makisu)
- A sharp knife
- Plastic wrap (optional but helpful)
- A cutting board
- A small bowl of water mixed with a splash of rice vinegar (for wetting your hands)
These tools help you shape the roll evenly and slice it cleanly.
Table – Tuna Sushi Roll Ingredients (With Measurements)
Ingredients Table
| Ingredient | Quantity | Notes |
| Sushi rice | 1 cup (uncooked) | Short-grain works best |
| Rice vinegar | 2 tbsp | For seasoning |
| Sugar | 1 tbsp | Optional |
| Salt | 1 tsp | Enhances flavor |
| Nori sheets | 2–3 sheets | Standard full size |
| Sushi-grade tuna (fresh) | 150–200 g | Ensure sashimi-quality |
| Cucumber | ½, sliced into strips | Adds crunch |
| Avocado | ½ sliced | Optional for creaminess |
| Soy sauce | To serve | Optional |
| Wasabi | Small amount | Optional |
Everything listed above comes together to create a fresh, tasty roll.
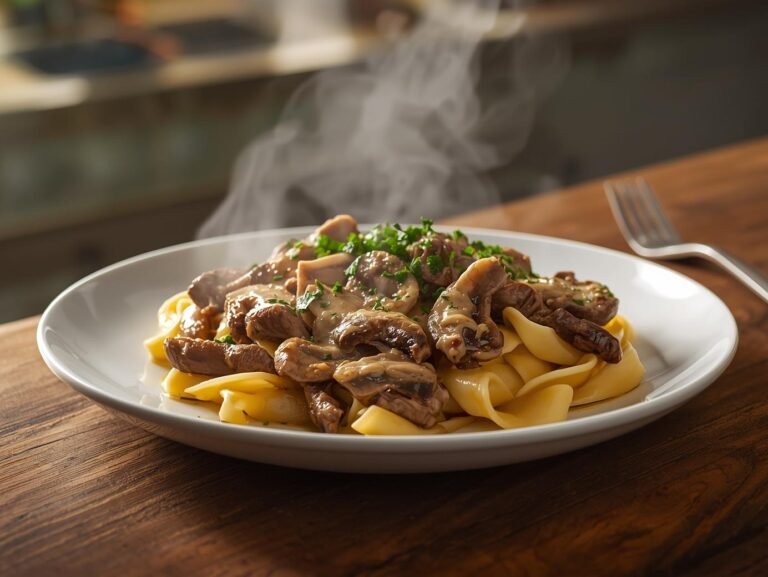
Learn how to make spaghetti with meat sauce using simple steps and everyday ingredients
Step-by-Step Guide – How to Make an Easy Tuna Sushi Roll at Home
Now that your ingredients and tools are ready, the real fun begins. Making your own sushi at home is surprisingly simple when you break it down step by step.
Step 1 – Prepare the Sushi Rice
Sushi rice is the foundation of your roll. When it’s seasoned correctly, it brings balance and harmony to every bite.
How to prepare the perfect sushi rice:
- Rinse the rice under cold water until the water runs clear.
- Cook the rice according to your preferred method (rice cooker or stovetop).
- Combine the rice vinegar, sugar, and salt in a small bowl and mix well.
- Fold this mixture into the rice while it’s still warm.
- Allow the rice to cool to room temperature before using it.
Seasoned sushi rice should taste slightly sweet, salty, and tangy. This combination enhances the flavor of the tuna and the vegetables.
Step 2 – Slice the Tuna Properly
A clean cut makes a noticeable difference in the appearance of your roll.
Tips for slicing sushi-grade tuna:
- Use a very sharp knife.
- Slice the tuna against the grain.
- Cut long, even strips that will lay neatly inside your roll.
- Avoid sawing motions one clean stroke creates a smooth cut.
Keeping your knife wet will help you avoid tearing the fish
Step 3 – Set Up Your Rolling Station
Creating a tidy workspace makes rolling much easier. Before you start assembling the roll, place everything within reach.
At your station, have:
- Your bamboo mat (you may wrap it with plastic wrap)
- Nori sheets
- A bowl of water with rice vinegar
- Sliced tuna, cucumber, and avocado
- Your cooled sushi rice
This setup ensures your rolling process flows without interruption.
Step 4 – Assemble the Tuna Sushi Roll
Here’s where your roll starts coming together.
Step-by-step assembly:
- Place a sheet of nori on the bamboo mat with the shiny side facing down.
- Lightly wet your hands and spread a thin, even layer of rice over the nori.
- Leave about one inch at the top of the nori sheet without any rice.
- Lay your tuna strips horizontally across the center.
- Add cucumber and avocado (optional).
- Lift the edge of the mat closest to you and roll it up and over the fillings.
- Apply gentle pressure to tighten the roll.
- Continue rolling until the sheet forms a complete cylinder.
- Wet the exposed strip of nori to seal the roll.
If it’s your first time rolling sushi, no need to worry. Your first roll might not be perfect but it will still taste fantastic.
Step 5 – Slice and Serve
Once your roll is shaped and sealed, it’s time to slice.
How to slice like a pro:
- Wet your knife with water before each cut.
- Slice the roll into 6–8 pieces.
- Avoid pressing down too hard to keep the roll from squishing.
Once sliced, arrange your pieces neatly on a plate. Accompany with soy sauce, pickled ginger, or a dab of wasabi.
Tips for the Best Homemade Tuna Sushi Roll
Even though sushi is simple, a few extra tips can make your roll turn out even better.
Improve Your Technique
- Use wet hands so the rice doesn’t stick.
- Don’t overload your roll less is more.
- Apply gentle but steady pressure as you roll.
- Keep your knife sharp and clean for precise cuts.
Ingredient & Safety Notes
- Always choose sushi-grade tuna, not regular raw tuna.
- Keep the fish refrigerated until you’re ready to use it.
- Use fresh vegetables for the best texture.
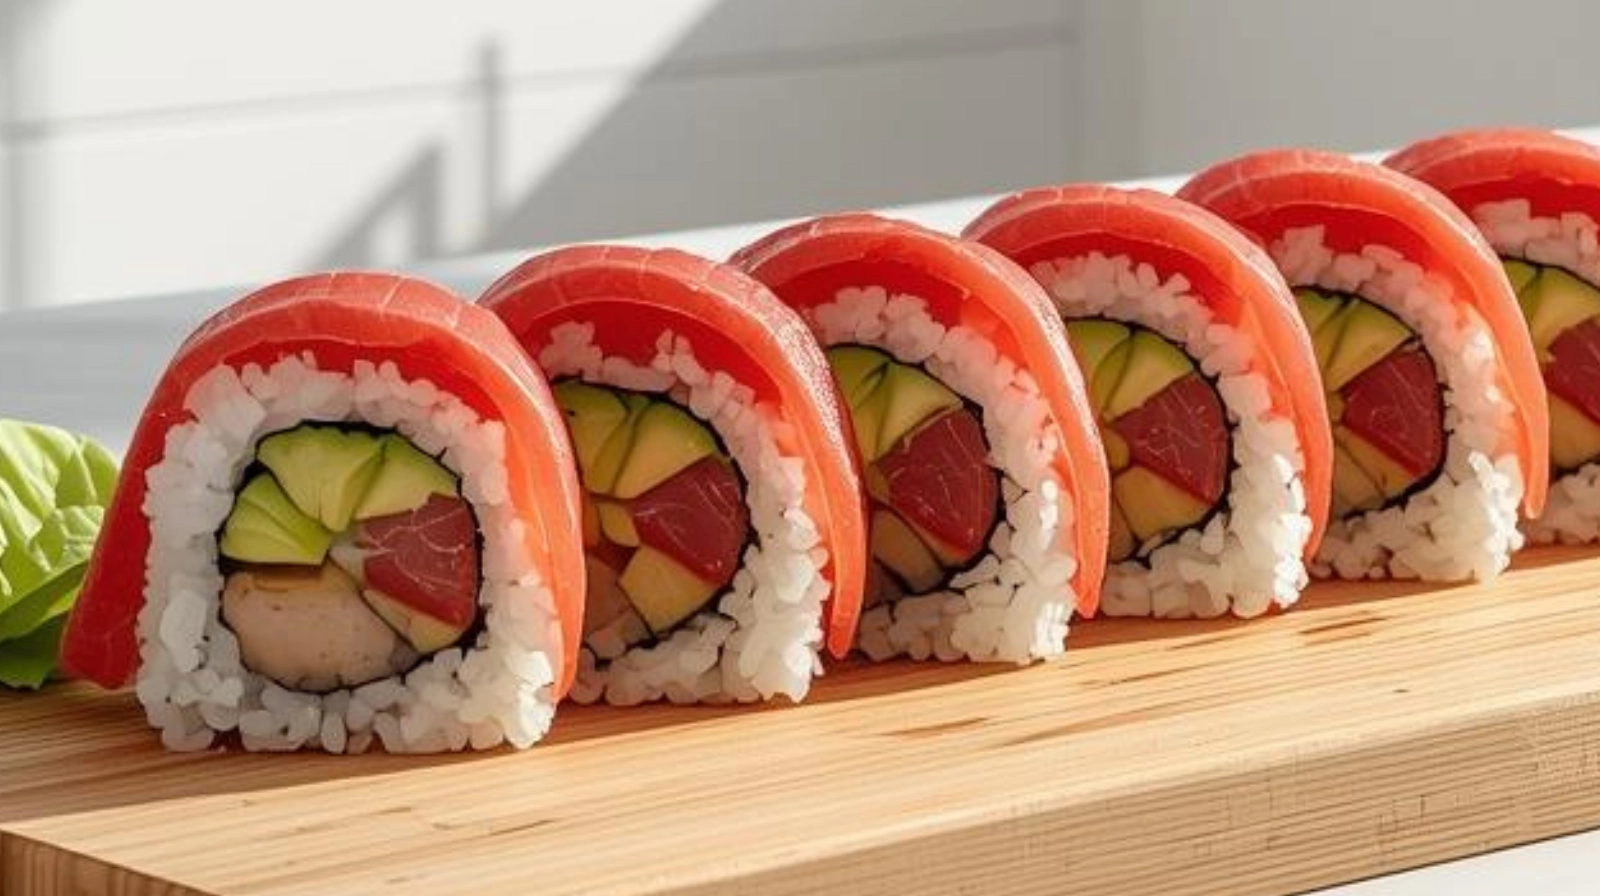
Variations of Tuna Sushi Rolls You Can Try
Once you’ve mastered the basic tuna sushi roll, you can start exploring variations.
Spicy Tuna Roll
- Chop the tuna into small cubes.
- Mix with a spoonful of spicy mayo (mayo + sriracha).
- Add green onions for extra flavor.
Crunchy Tuna Roll
- Add tempura flakes to the center before rolling.
- This gives each bite a crispy texture.
Tuna Avocado Roll
- Use extra avocado slices for a creamier bite.
- Great for those who love smooth, buttery textures.
Experimenting with these versions keeps things exciting and helps you discover your personal favorite.
Frequently Asked Questions About Homemade Tuna Sushi Roll
Q1: Can you use canned tuna?
Yes but it won’t taste like a traditional sushi roll. If you do use canned tuna, mix it with mayo and seasonings.
Q2: How long can your tuna sushi roll sit out?
Raw tuna should not sit out for more than 1–2 hours. Always refrigerate leftovers immediately.
Q3: Do you need a bamboo mat?
Not mandatory you can roll sushi with plastic wrap or a clean kitchen towel a bamboo mat simply makes it easier.
Conclusion
Making your own tuna sushi roll at home isn’t just cooking it’s a calm, creative experience that rewards you with something delicious and personal. When you take the time to prepare your rice, slice your tuna, and shape your roll with care, you’re doing far more than assembling ingredients. You’re crafting a moment. A small pocket of satisfaction you don’t get from takeout.
The first roll might challenge you. The second gets easier. By the third, you’ll feel like you’ve unlocked a new kitchen skill you’ll use again and again. And once you taste the freshness of your homemade sushi roll, you’ll realize why so many people choose to make their own instead of ordering out.
Whether you’re cooking for yourself or preparing a special meal for someone you care about, this simple tuna sushi roll will always be a reliable, impressive choice.