Learn how to make chocolate pudding with cocoa using simple pantry ingredients
Indulge in the rich and creamy delight of homemade chocolate pudding made with simple pantry ingredients. You can create a decadent dessert perfect for any occasion by following a few easy steps.
With this best chocolate pudding recipe, you’ll be able to satisfy your cravings without needing to visit a store. The process is straightforward, and even beginners can achieve success with a little guidance.
Key Takeaways
- Make rich and creamy chocolate pudding at home using simple ingredients.
- Follow a straightforward process to achieve success.
- Create a decadent dessert perfect for any occasion.
- Satisfy your cravings without needing to visit a store.
- Customize your pudding to suit your taste preferences.
The History and Appeal of Homemade Chocolate Pudding
Homemade chocolate pudding is more than a dessert. It’s a link to a comforting culinary past. Making it from scratch, lets you select all the ingredients you prefer. This way, you get a rich cocoa pudding that’s easy to make and just right for you.
For more expert insights and classic chocolate pudding techniques, you can also check this trusted guide from BBC Good Food
Origins of Chocolate Pudding
Chocolate pudding comes from European cuisine, starting in the 18th century. Back then, chocolate was a luxury for the rich. But as chocolate became more common, pudding recipes showed up in cookbooks.
The story of chocolate pudding is about how a prized ingredient became a favorite in many homes. It’s a tale of how something special became a part of our lives.
Why Homemade Beats Store-Bought
Making easy chocolate pudding from scratch has many benefits. You can adjust the sugar and sweetener, making it less sweet or using natural options. This way, you can avoid preservatives and artificial flavors found in store-bought puddings.
Choosing homemade pudding means you get a healthier dessert. It’s free from additives that you don’t need.
Essential Pantry Ingredients for Chocolate Pudding with Cocoa
To make a rich chocolate pudding, you need a few key ingredients. The quality of these ingredients greatly affects the pudding’s taste and texture. Knowing what each ingredient does helps you make choices that fit your diet and taste.
Cocoa Powder: Types and Differences
Cocoa powder is crucial for chocolate pudding. There are two types: natural and Dutch-processed. Natural cocoa is bolder and bitter, while Dutch-processed is milder and smoother. Your choice can change the pudding’s flavor.
Sweeteners and Thickeners
Sweeteners like sugar or alternatives balance the cocoa’s bitterness. Thickeners like cornstarch or flour give the right consistency. Some recipes use eggs for thickness and flavor. You can pick sweeteners and thickeners based on your diet and taste.
Dairy Options and Alternatives
The type of milk you use changes the pudding’s creaminess and taste. Whole milk or cream make it rich, while almond, soy, or coconut milk offer dairy-free options. Choose based on your diet or taste, adjusting sweetness and thickness as needed.
Kitchen Tools You’ll Need
Before you start making your chocolate pudding, make sure you have the right tools. The right equipment makes the process easier and faster.
Essential Equipment
You’ll need a few basic tools to make chocolate pudding. A medium saucepan for heating, a whisk for mixing, and measuring cups and spoons for precise measurements are must-haves. A stainless steel or non-stick saucepan is best because it heats evenly.
Optional but Helpful Tools
While not essential, some tools can make things easier or better. A hand mixer or electric whisk helps with a smooth pudding. A fine-mesh sieve is useful for straining the pudding if needed. Also, individual serving cups are great for portion control.
| Tool | Purpose |
| Medium Saucepan | Heating the pudding mixture |
| Whisk | Blending ingredients |
| Measuring Cups and Spoons | Accurate measurements |
| Hand Mixer or Electric Whisk | Achieving smooth consistency |
| Fine-Mesh Sieve | Straining the pudding (optional) |
Basic Chocolate Pudding Cocoa Recipe
With just a few pantry staples, you can make a rich, creamy chocolate pudding. This basic recipe is a great base for many desserts. It’s simple to prepare and easy to adjust to your liking. The steps are simple, making for a smooth and enjoyable pudding.
Ingredients List and Measurements
First, collect the needed ingredients: 2 cups of milk, 1/2 cup of sugar, 2 tablespoons of unsweetened cocoa powder, and 1/4 teaspoon of salt. You’ll also need 2 tablespoons of cornstarch and 2 ounces of melted high-quality chocolate for extra richness. Accurate measurements are crucial for the perfect consistency and flavor.
If you have dietary restrictions, consider using almond milk or coconut sugar. These changes might alter the taste and texture a bit, so you might need to try a few times to get it right.
Preparing Your Workspace
Before mixing, clear a clean, stable surface and gather your tools. You’ll need a medium saucepan, a whisk, and a measuring cup. Being prepared ahead of time helps the process go more smoothly and minimizes errors.
. Make sure your workspace is tidy for a better cooking experience.
Mixing Dry Ingredients
In a small bowl, mix together the dry ingredients: sugar, cocoa powder, cornstarch, and salt. Whisk thoroughly until the mixture is smooth and lump-free. This step is key for even cooking and a smooth texture.
Incorporating Wet Ingredients
Slowly add the milk to the dry ingredients, whisking constantly to avoid lumps. Once smooth, pour the mixture into the saucepan and heat it over medium. As it thickens, keep stirring to get the right consistency.
Mastering the Cooking Technique
A perfectly cooked chocolate pudding comes from careful cooking. You need to manage heat well, get the right consistency, and know when it’s done.
Proper Heat Management
Controlling heat is key when making chocolate pudding. Use low to medium heat for a gentle simmer. This prevents burning and lumps. Stir constantly for a smooth texture.
As an expert says, “The key to a smooth pudding is in the heat control and constant stirring.” This makes your pudding creamy and even.
Achieving the Perfect Consistency
The pudding should coat the back of a spoon when it’s perfect. This happens at 170°F to 180°F. Stir patiently for 10 to 15 minutes.
“Pudding is ready when it coats the back of a spoon and holds its shape,” say dessert lovers. You can also test it by drawing a line on the pudding with your finger—if it stays, it’s perfectly set.
How to Tell When Your Pudding Is Done
It’s important to know when your pudding is done. Look for thickening and a glossy look. Stop heating when it’s right, as it will thicken more as it cools.
“Timing is everything,” a famous pastry chef said. This shows how crucial not to overcook your pudding.
With these tips, you can make a delicious and beautiful rich cocoa pudding. Remember, practice makes perfect. Don’t worry if it takes a few tries to get it right.
Cooling and Setting Your Pudding
Cooling and setting your chocolate pudding is key. It needs to be cooled and set right to get the perfect texture. This step is crucial.
Preventing Skin Formation
When cooling pudding, a skin can form on top. To stop this, press plastic wrap directly onto the surface of the pudding. This method keeps the pudding from getting a skin.
Proper Cooling Methods
There are a few ways to cool your pudding. You can put the bowl in an ice bath for quick cooling or let it cool at room temperature. If using an ice bath, make sure water doesn’t get into the pudding.
For slower cooling, just leave it on the counter. Stir it now and then to avoid lumps.
Storage Tips for Freshness
After cooling, store your pudding right to keep it fresh. Put it in an airtight container and refrigerate. Your chocolate pudding will last up to 3 days in the fridge. Always check for spoilage before eating.
By following these steps, you’ll have a smooth, creamy, and tasty homemade chocolate pudding.
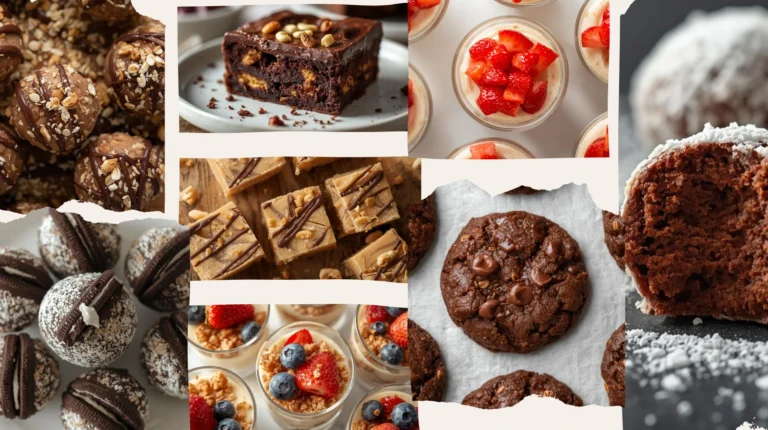
Delicious Variations of Chocolate Pudding
Take your best chocolate pudding recipe to the next level with these delicious variations. Try different flavors to make your pudding extraordinary. Whether you want a twist on a classic or a new flavor, these ideas will inspire you.
Dark Chocolate Pudding
For a deeper, richer flavor, try dark chocolate pudding. Use high-quality dark cocoa powder for an intense chocolate taste. This is perfect for those who prefer less sweet desserts.
Mexican Chocolate Pudding with Spices
Add cinnamon and cayenne pepper for a Mexican-inspired chocolate pudding. The spices complement the chocolate beautifully, adding depth and warmth.
Mocha Pudding with Coffee
Coffee lovers will enjoy a mocha pudding. Add espresso or strong brewed coffee to your chocolate pudding mixture. This is ideal for those seeking a best chocolate pudding recipe with a coffee twist.
Mint Chocolate Pudding
Refresh your dessert repertoire with mint chocolate pudding. Add a few drops of peppermint extract to your pudding mixture. Garnish with chocolate shavings or whipped cream for a festive touch.
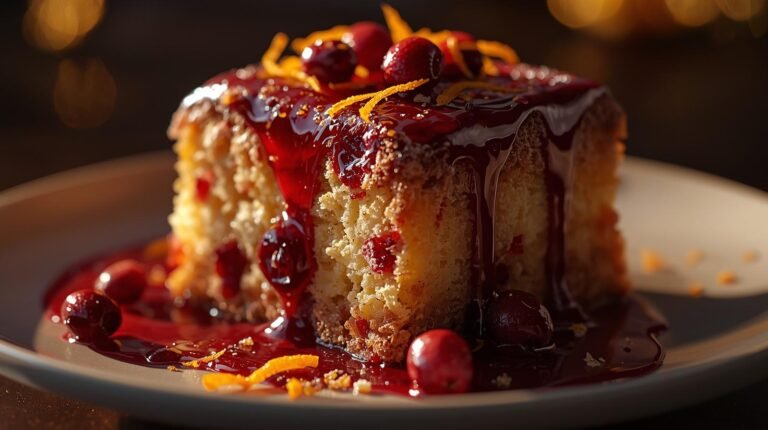
Chocolate-Orange Pudding
Combine chocolate with orange zest for a unique dessert. This flavor combination works well with orange extract or a hint of orange liqueur in your pudding.
These variations show that making different types of chocolate pudding is easy chocolate pudding at its best. Feel free to experiment with these ideas and adjust them to your taste. Whether you’re making a best chocolate pudding recipe or trying something new, quality ingredients and trying new flavors are key.
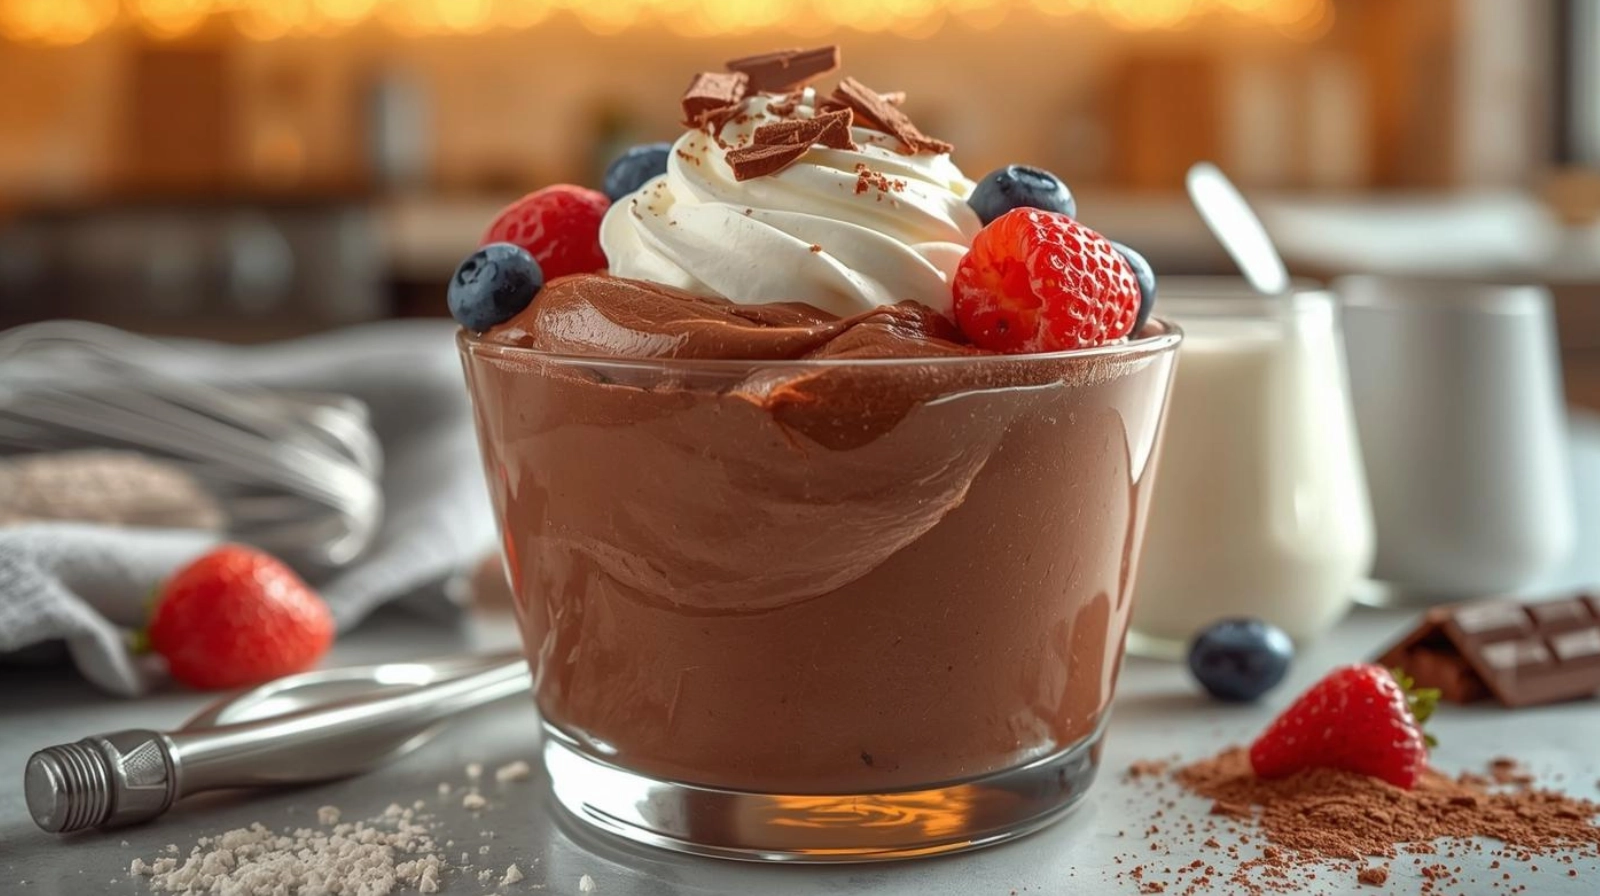
Creative Serving Ideas and Garnishes
Your chocolate pudding recipe with cocoa powder is just the start. Let’s see how to make it stand out. Serving your homemade rich cocoa pudding can be a fun and creative process. Whether you’re impressing guests or making dessert time fun for the family, it’s a great way to do it.
Classic Toppings
Begin with the basics by adding some classic toppings to your chocolate pudding. Consider:
- Whipped cream for a creamy contrast
- Chocolate shavings or chocolate chips for an intense chocolate experience
- Fresh berries, such as strawberries or raspberries, for a sweet and tangy combination
Elegant Presentation for Guests
To elevate your dessert game for guests, try these elegant presentation ideas:
- Layer your pudding with whipped cream and chocolate shavings in a tall glass
- Garnish with edible gold dust or sprinkles for a luxurious touch
- Serve in individual cups or ramekins for a sophisticated look
Kid-Friendly Serving Ideas
For kids, making dessert fun is key. Try these ideas:
- Create a pudding parfait bar with various toppings like sprinkles, cookie crumbs, and fresh fruit
- Use fun shapes and molds to make the pudding more appealing
- Top with a maraschino cherry or a chocolate kiss for a special treat
By incorporating these creative serving ideas and garnishes, you can turn your simple chocolate pudding into a memorable dessert experience.
Troubleshooting Common Pudding Problems
Making the perfect chocolate pudding can be tricky. But, knowing how to fix common problems can help a lot. We’ll show you how to tackle lumps, texture issues, and cooking time problems. This will help you make a easy chocolate pudding with chocolate pudding cocoa perfectly.
Fixing Lumpy Pudding
Lumpy pudding can be annoying, but it’s simple to fix. Strain the pudding through a fine-mesh sieve into a clean bowl to get rid of lumps. This will leave you with a smooth pudding. To avoid lumps, whisk constantly when adding hot milk to the dry ingredients.
Addressing Texture Issues
If your pudding is too thick or too thin, you can adjust it. For a thick pudding, whisk in a bit more milk until it’s right. If it’s too thin, cook it a bit longer or add more cornstarch to thicken it.
Salvaging Overcooked Pudding
Overcooking can make your pudding too thick or scrambled. To fix it, blend the pudding in a blender or with an immersion blender to smooth it out. But, the best way is to watch it closely while it cooks to avoid overcooking.
Dealing with Undercooked Pudding
Undercooked pudding is too runny and won’t set right. Just heat it up a bit more, stirring constantly, until it’s right. Be careful not to overcook it.
By fixing these common problems, you can make sure your homemade chocolate pudding with cocoa is perfect every time. Happy cooking!
Nutritional Benefits of Homemade Chocolate Pudding
Enjoying homemade chocolate pudding is not just a treat for your taste buds. It also brings many health benefits. By making it yourself, you can pick the ingredients and make it fit your diet.
Cocoa’s Antioxidant Properties
Cocoa, the key ingredient in chocolate pudding, is packed with antioxidants. These help fight off free radicals, which can harm cells and lead to aging and diseases. Dark cocoa powder has even more antioxidants than milk chocolate. Using high-quality cocoa in your pudding can boost your health.
Comparing Calories with Commercial Puddings
Homemade chocolate pudding is often healthier than store-bought versions. You can control the sugar and dairy used. Many commercial puddings have high-fructose corn syrup and artificial flavors, adding calories without nutrients. By choosing natural sweeteners and low-fat dairy, you can cut down on calories.
Making Healthier Ingredient Choices
One big plus of making pudding from scratch is choosing better ingredients. You can use low-fat or non-dairy milk, less sugar, or natural sweeteners like honey. Using unsweetened cocoa powder lets you control sweetness and get cocoa’s health benefits. These options help you enjoy a delicious, healthy cocoa pudding.
Conclusion: Enjoying Your Homemade Chocolate Pudding
Now that you’ve mastered the easy chocolate pudding recipe, it’s time to enjoy it. Making homemade chocolate pudding is incredibly rewarding. Plus, you can make it your own by adding your favorite flavors.
Try adding a pinch of salt or a teaspoon of vanilla extract for a twist. You can also use different milks or sweeteners to fit your diet. This way, you can make the chocolate pudding recipe with cocoa powder your own.
Enjoying your homemade chocolate pudding is special. It’s not just about the taste, but also the joy of making it. Be proud of your creation and share it with loved ones.
This simple yet rich dessert will impress anyone. So, grab a spoon and enjoy the chocolatey goodness you’ve made.